Part II: Center Panel and Bases, Part I is located here.
By Mark Whitesell. Republished with permission from the July 2015 issue of Fourteener Motoring Magazine.
With the backs and side bolsters done, only the center and base sections are left to finish. These are a little more demanding than the back bolsters, however.
Time Required: 3 to 5 hours per set – center section and bases.
Needed Tools:
• Needle nose pliers
• Upholstery Hog rings (from old seat) or safety wire
• Upholstery glue Camie 312 or suit able replacement
Optional:
• Staple gun optional
914rubber (914rubber.com) produces a wide-range of Porsche 914 parts, designed to help restore and maintain your car.
You will want to remove the metal at the bottom of the old center sections. This will need to be reused to secure the base of the new sections.
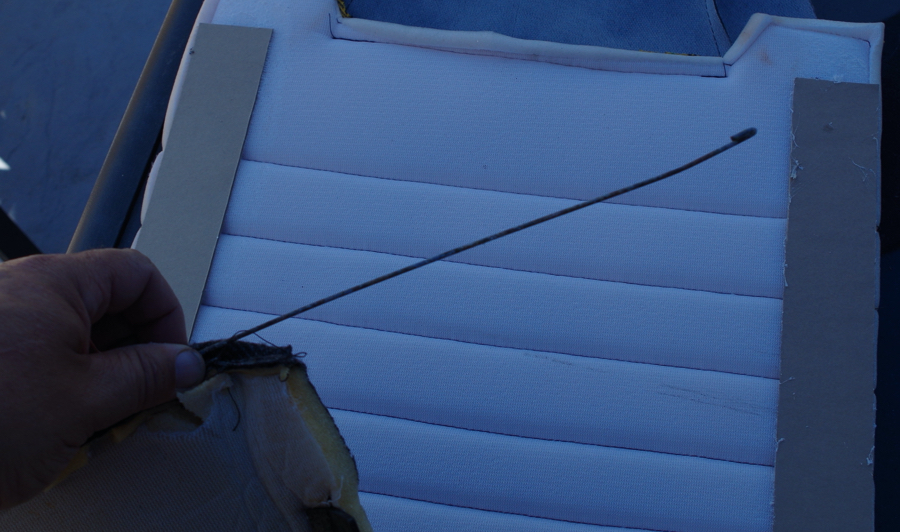
We now include the fiberboard to replace the side sections. You will want to find the center of the seat and go approximately 5-1/4” inches out on each side. Place the strips on the lines. You can use glue or the staple gun to attach them initially. You will want to make sure that your center section is wide enough to “fill” the area with no gaps. I have found that there can be some minor variations depending on the condition of the foam. Once you are satisfied, you can glue/staple them in place. I glued them as that was the way the factory did it.
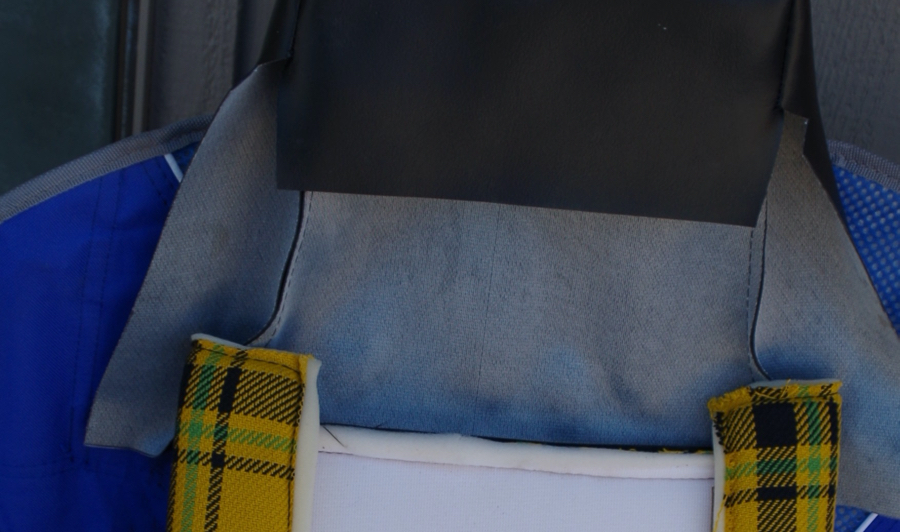
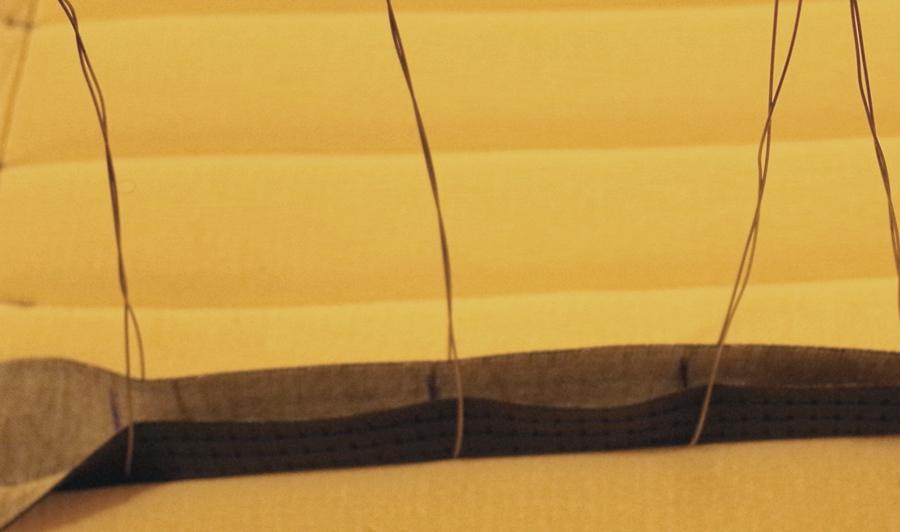
The next task is where it starts getting more difficult. The headrest needs to be attached to the foam. I have chosen to use safety wire as I have it on hand, and it allows me to tighten or loosen as I see fit. So I can suck down one side, more or less, to make it even. The hog rings are not very adjustable. After the headrest is secured to the foam/metal section you can install.
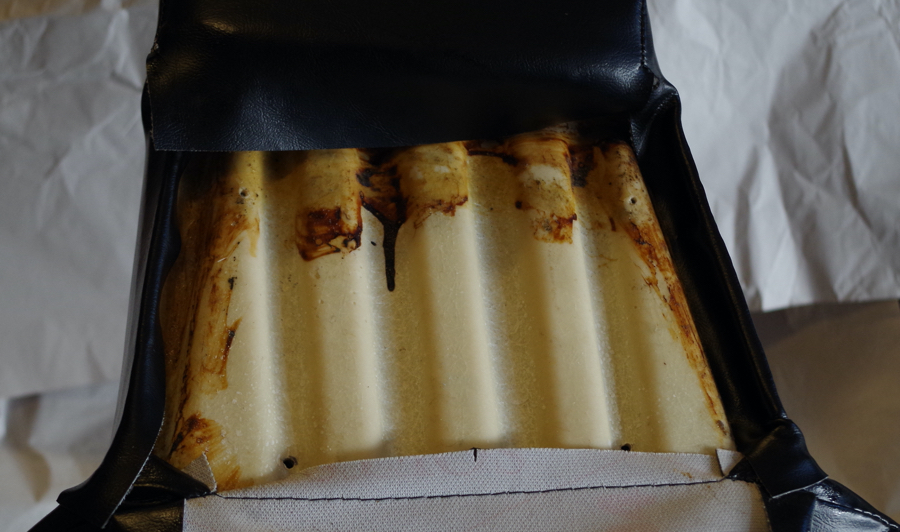
You will need to let the glue get good and tacky, as it will need to stick well as you are stretching it around. I made the mistake of being in a hurry and it wasn’t as tacky as it should have been. You will want to wait about 15 minutes for it to flash off. Tucking the edges and the top section in where you want it will take some time to make perfect. This is the time consuming aspect of the process, as you can see all the imperfections.
After the headrest is secured, the base can then be secured. Mine was missing a center clip, but it still worked.
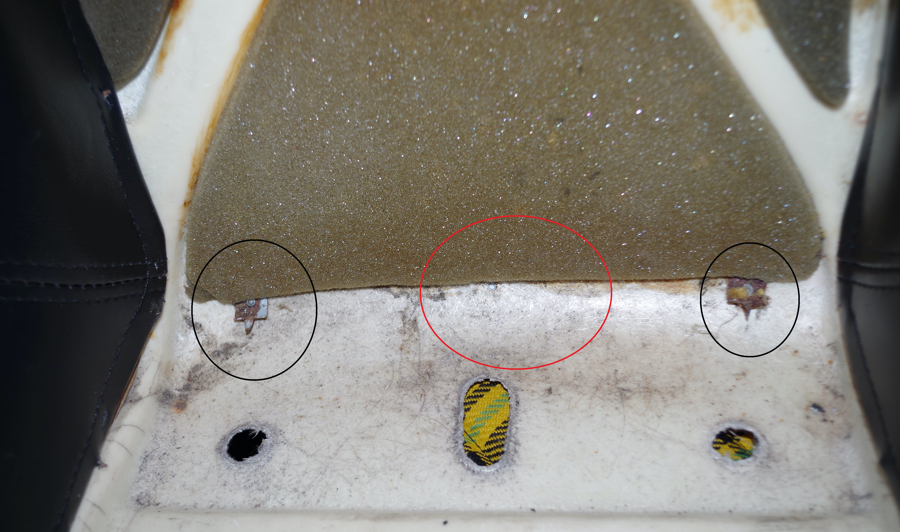
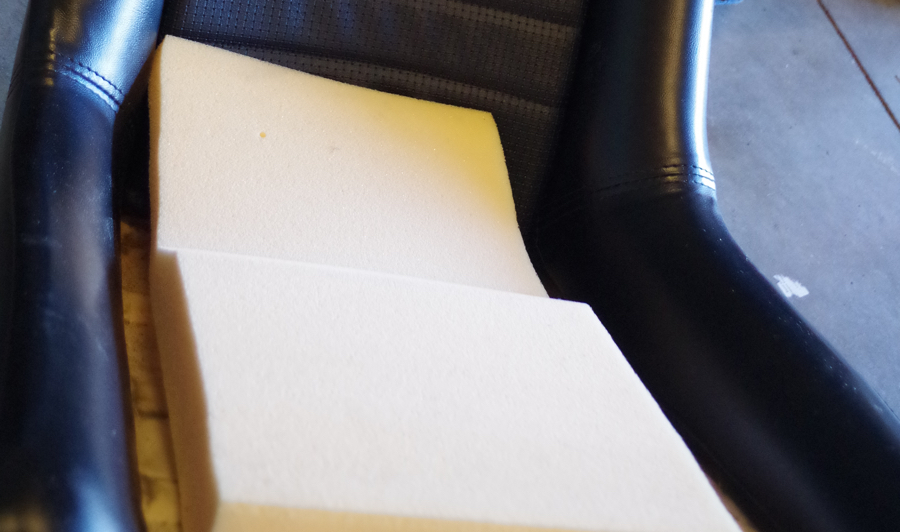
The center section was not as supportive as I liked, so I replaced the thin pad with some foam I cut, for a little more lumbar support.
Covering the Bases
The OEM bases actually have a tuck in the front of the cushion that requires some work to duplicate. You would think that it would be easy to simply staple the cover over the old cushion.
Here’s where the fun begins. The first crease is held down by a series of strings that cause it to “tuck” down.
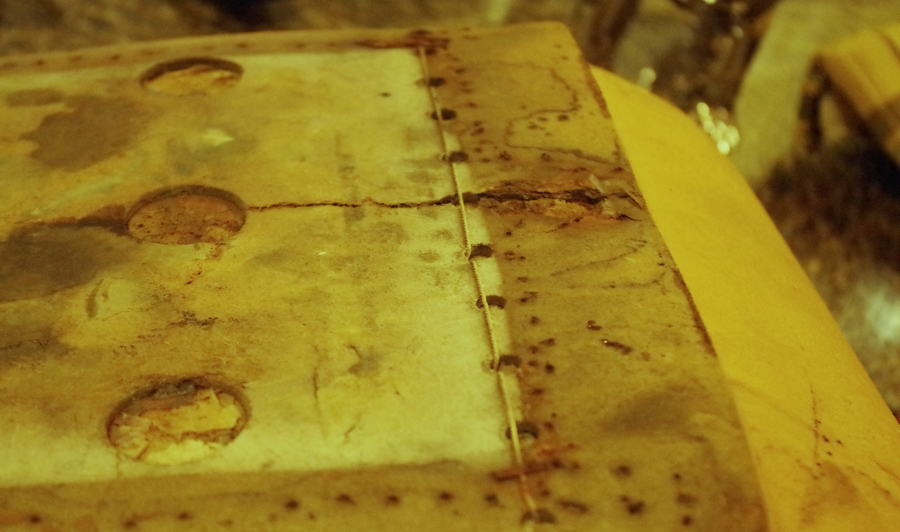
I used the same system of tying safety wire to pull it down. This allows for easy adjustment.
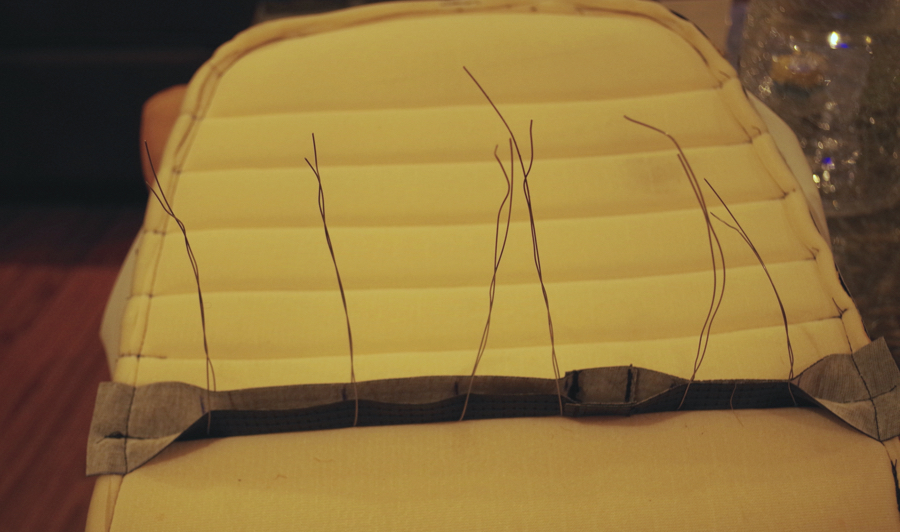
I pulled these through the flap at points that I marked off of the old cushion, to make sure they pull through the holes. I used a guide wire to pull the sections through and then tied it off to the next to create the desired tension.
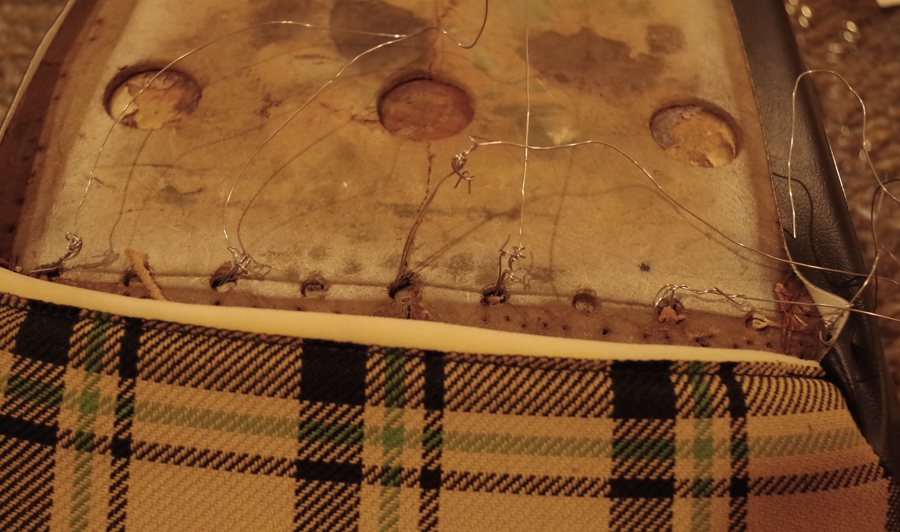
This allows me to pull and tie off each section, making the tuck as pronounced as desired. The completed sets can then be assembled. I didn’t snap a picture of the completed seat before it was sold, but did a second base just to show what it looks like. Therefore, the seat isn’t matched, but you can see how it looks assembled.
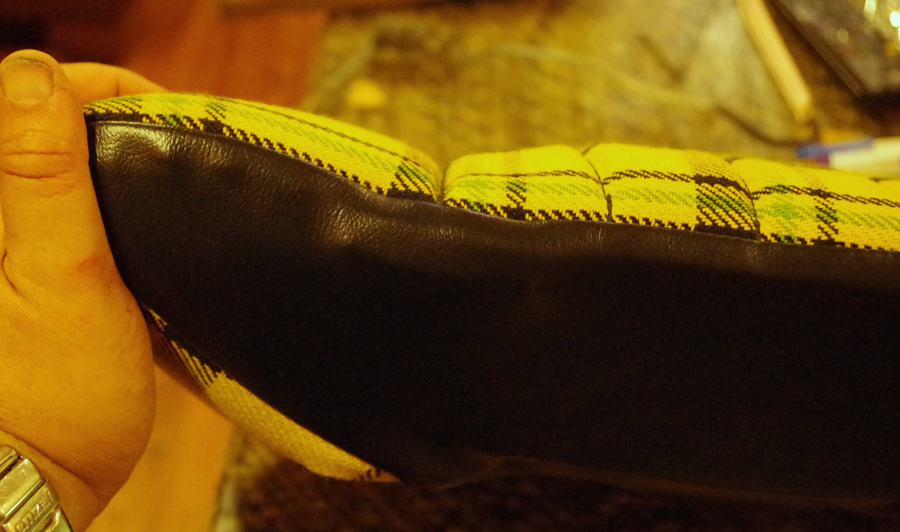
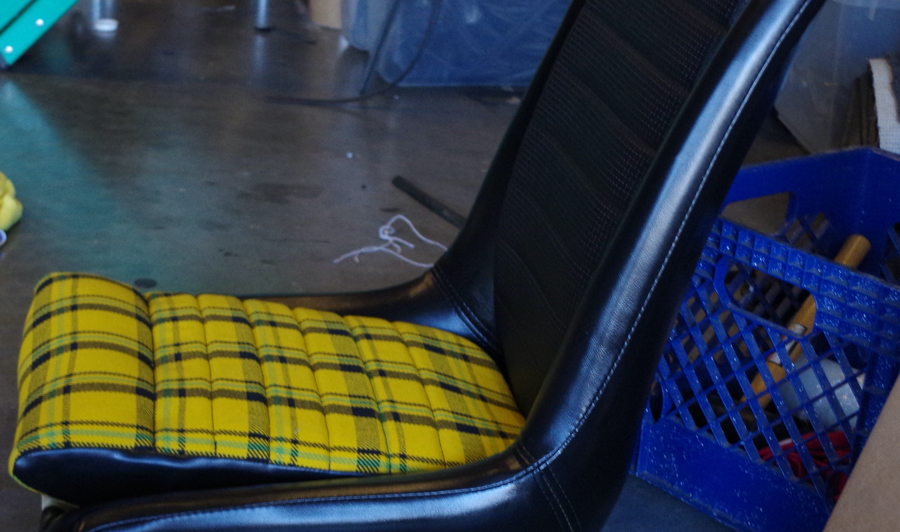
Allow plenty of time to do this, otherwise you will be too rushed to get the details just right. I am not an upholstery professional, and would consider myself a novice. My results could have been improved, as the tuck could have been a little better. However, the board I had was more damaged than I wanted. I didn’t have time to fabricate another. The center section didn’t get the uniform pressure I wanted without reinforcement. So the devil is in the details.



About The Author: Steve
More posts by Steve