Republished with permission from the July 2015 issue of Fourteener Motoring Magazine.
In the last chapter of our “lite” restoration of the Silver ‘72 914, we tackled the rust. Although compared to many 914’s this car had very little, it still had to be dealt with.
Now that we have a clean chassis, it is time for bodywork and paint. Overall the paint wasn’t very bad to begin with. But it had some dings and scratches that we couldn’t live with. We decided to strip the car, and repaint it. And so the sanding began.
When the previous owner had the car repainted, a number of years before we bought it, he had the entire car stripped. We were able to confirm how the bare metal was prepared and primed. They did an excellent job and this made our work a lot easier.
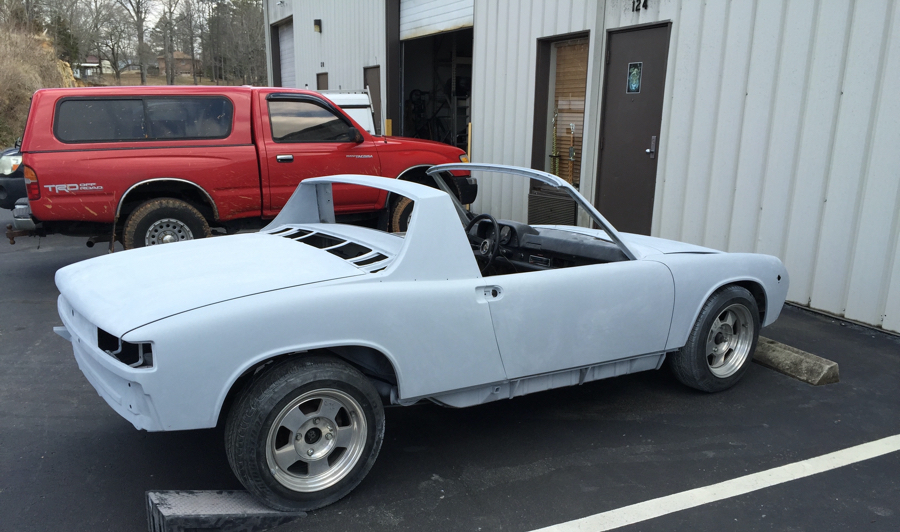
We block-sanded the existing paint and clear coat off with 180 grit sand paper, down to the primer. Although we ended up sanding some of the primer off, we did not have to take the car to bare metal, thanks to the great work by the previous painter.
Once all of the paint was removed, we addressed the dings and dents. It never ceases to amaze me what a good paintless dent-repair expert can do. Black Forest Racing recommended the person they typically use, and he did a great job. He spent a few hours working on the car, and in that time was able to take two dents out of the driver’s-side door (where a motorcycle had fallen into the car while the previous owner had it parked in the garage), as well as a dent in the right rear quarter panel and a swell in the engine lid. And when I say he took the dents out, I mean when he was done they didn’t need any filler at all. None. In total it cost us about $200.00. It was money well spent in terms of the finished product and time savings.
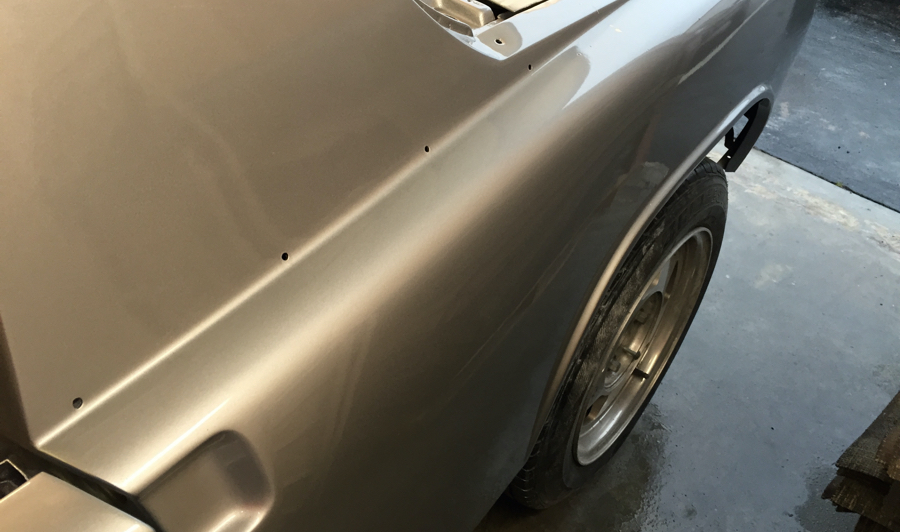
Once the dents were removed, we sprayed the whole car with Omni 2k primer. Since this 914 is going to be a driver, we went with Omni MP282 SV High Build 2K Primer to save a little money. It costs a fraction of what Deltron primer will set you back, and much of the 2k primer ends up being blocked off anyway.
After the car was shot with primer we began block-sanding, again. We used 280 grit, switching to 320 once we got it close to how we wanted it. In the end, we only had to go back over the car with a couple more coats of primer, since it started out so straight to begin with. We used a guide coat before finishing, and it proved to be as smooth as glass.
Prepairing a car for paint can be one of the most laborious and time consuming parts of a restoration. It is also an area where you can save money by doing the work yourself. We did the paint prep work in my garage. And once we got it pretty close, we hired someone to come help finish it. This scenario let us do most of the labor, and still produced great results.
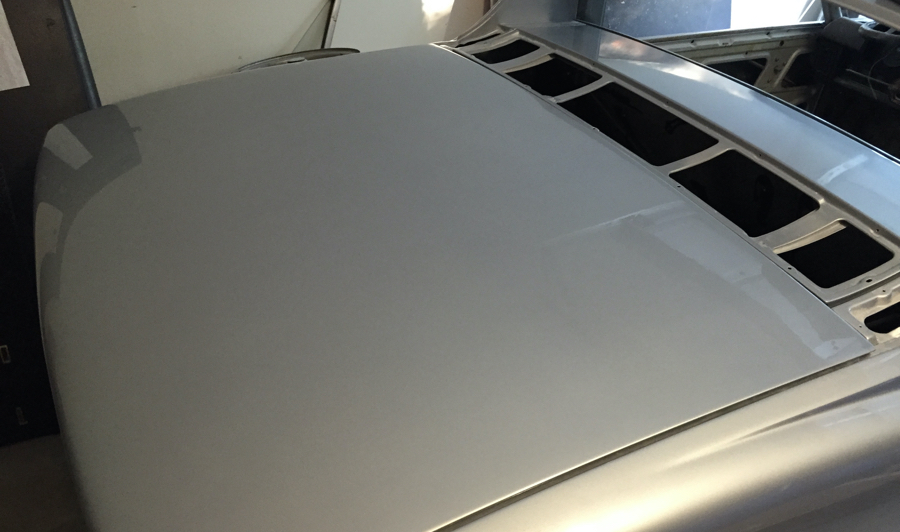
Once the car was ready for final paint, we got references of painters with a booth. Many paint shops don’t like to shoot cars that they haven’t prepared, for obvious reasons: They don’t know how well the prep work was done, and they make less money. But, if you ask around you can usually find someone with a good repuation that will paint the car after you prepair it.
The painter we used charged us $1,000 to go over the car one last time with a final sanding and then paint it. To get the best possible finish, we used Deltron 2000 base coat and clear coat (1972 Silver Metallic, L96D), which cost around $800 in materials. In total, we ended up spending about $3,000 on the paint job, including materials, preparation help, and final paint.




About The Author: Steve
More posts by Steve