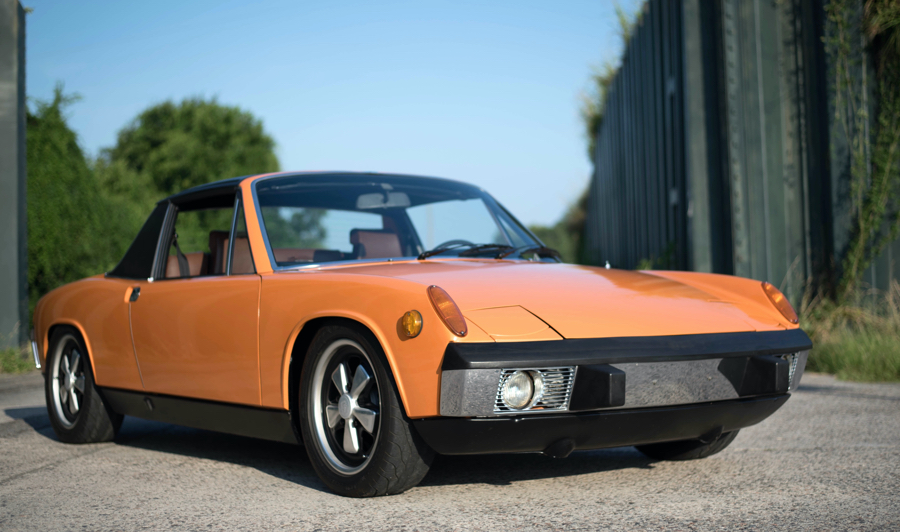
You may recall that we built the bottom-end of the project car engine earlier in the year. Finishing the engine was delayed while we tried to find a replacement oil pump. More on that later. The good news is that the engine is now complete.
Although the engine has a stock cam, we decided to increase the displacement with 96mm pistons, which would bring it to 2056cc. John at Black Forest Racing rebuilt the heads, which needed new valves and guides. In addition, since the heads were from a later 2.0 liter engine, they had injection holes which needed to be plugged. We used valve adjusting screws which are the exact size and thread as the injection holes.
One of the more frustrating parts to find in rebuilding the engine was a new oil pump. The OEM stock pump is very expensive, and I wanted to upgrade to a higher pressure unit. In researching oil pumps, I found few options. Larger pumps are readily available, but they are often thought to provide too much pressure for the Type IV engine. After looking into it quite a bit I decided to use the Schadek 26mm pump. However, to use this setup on a Type IV engine, the pump must be modified. Over the years, a number of vendors have provided a modified pump, but none seem to any longer. Thankfully, I was finally able to get one from Original Customs.
As you can see from the photos, we powder-coated everything we could, including the fan housing. Most people just leave the housing in its natural metal. But, we decided to disassemble the housing halves and have it powder-coated. It turned out great. The only caution I would mention is to make sure that you sand the powder-coating off in a number of places where the two halves come together, as well as where it mounts to the engine block. Since the alternator is bolted to the fan housing, you want to make sure you have bare metal connections to it is grounded properly.
One of the hardest 914 engine parts to replace without removing the engine is the alternator. While possible, it is normally easier to simply drop the engine if the part fails. So, we replaced the alternator, and ordered a new wiring harness from Jeff Bowlsby (Jeff’s 914 Wiring Harnesses). Jeff’s harnesses are impeccably made. Given that the 914’s wiring harnesses are over 40 years old, it seemed like a good time to update it just to be safe.
Once the engine was together we checked the end-play, and installed the sheet metal. It always amazes me how many parts are in these engines. I recommend that you take your time and double check everything. Having to remvoe the engine because one small issue arrises can be time consuming.
While working on getting the engine ready to reinstall, we also tackled the sound deadening in the interior. It is well-known that the factory-installed “tar” in the floor pans of the 914 cracks over time allowing moisture to get between the metal and the coating. Once trapped, rust ensues, and the rest is 914 history.
Today these types of coatings have improved drastically since the early 70s. However, I still wanted a solution that did not glue or adhere to the metal. Having owned a 914 for many years, I am more than familiar with how often you can get caught in the rain with the roof off and need to dry the car out. Being able to remove the sound-deadening really helps in this regard. Not to mention, it is nice to periodically inspect the floor pans just to make sure no moisture or rust have creeped in.
I decided to go with DynaPad. The sound-deadening product is made by the same company that makes DynaMat, which is the industry leader in this area. The difference is that DynaPad does not come with the self-adhesive found on DynaMat, which makes it perfect in this application if you want to periodically remove it.
DynaPad is 3/8” thick and offers both low frequency sound-deadening and thermal benefits. The material is a four layer composite barrier, and is both water and oil resistant.
A single roll of DynaPad won’t cover the entire interior floor. So, we opted to not cover the driver’s side from about the steering wheel forward. We did cover under the driver’s seat, and the entire passenger side. I was surprised how heavy it is, at about 1 pound per square foot. After cutting the material to fit the floor boards, it laid down nicely. We will be interested to see if it works once we lay carpet over the materials.
We are getting down to the wire. Originally, this was a 3 month project. It has taken almost two years to get to this point. But, I think we are almost ready to install the engine, and put the car back on the road. One Lap of America is coming up fast, and we have a couple driver’s schools on our calendar. Wish us luck on the final stretch of the project.


About The Author: Steve
More posts by Steve