It’s time to work on odds and ends. These little jobs never seem to end. But, they are very rewarding as each part of the car is rebuilt.
The list of small projects included rebuilding the shifter assembly, installing the Momo steering wheel, installing the pedal assembly, putting the sound deadening and seat tracks in, and installing the bumpers. Fun stuff.
We were reluctant to completely disassemble the shifter assembly. It seems complicated. But, in reality, it is fairly simple. Our main advice is to be careful in removing the springs. To keep them from flying out, just remove the c-clips. Then push a screwdriver through as you remove the rod. The screwdriver will keep the spring in its location until you want to remove it. Also be careful not to break the two plastic main spring bases.
After disassembly, we cleaned the internal parts, then sanded and painted the housing glossy black. We taped off the ball socket inside the housing so it didn’t get painted. We painted the shifter satin black to match the other highlights on the car.
In reassembling the shifter assembly, it is important to grease the springs and ball socket. Getting the springs back in place can be difficult. We used one of the rods on each side to hold each end of the spring in its place, and then pushed the center of the spring down until it was aligned properly. Then we pushed one of the rods through. To install the other spring, we used the same procedure with the rod and a small screwdriver. Make sure you wear safety glasses, as the springs will fly out (a couple times) before you get them installed.
Next we installed the Momo steering wheel. There are different steering columns among the various model years of the 914. Our car is a 1972. The hub that came with the Momo steering wheel did not fit the car (top photo on the next page).
As can be seen in the photos, early cars require a steering wheel hub that is indented to receive the steering shaft collar. The bottom photo is the hub we ended up sourcing from Pelican Parts. It fits great.
With the new hub fitting the car well, we installed the horn ring. To get it to fit we had to drill out the hole in the hub that holds the plastic wire tube. But, that was an easy fix.
Next came the pedal assembly. You might recall that we had the pedals rebuilt by Bruce Stone. His work is amazing. The pedals look and operate just as good as new. Installing them is straight forward, and once in, it is easy to start imagining the car getting on the road again.
After the pedals, we tackled the sound deadening and seat rails. As we discussed in a previous article, we decided to use DynaPad for sound deadening. This is not what most 914 owners appear to be installing. Many people install DynaMat, or similar products, that either tape in or use adhesive on the material itself.
Having spent too many hours dealing with floor pan rust on other cars, I didn’t want to use anything with adhesive. Having owned a number of 914s in the past, I know that it is inevitable that you will get stuck in the rain with the roof off. The interior will get wet at some point. And once it does, if the sound deadening is glued or taped in, you will always wonder if it is rusting under there. I guess you could pull it all out and redo it. But, that is more work, especially if the material is glued down. I’d rather be able to regularly lift the sound deadening out and confirm that the floor pans are dry. So we hunted down sound deadening that doesn’t have adhesive.
DynaPad is made by the same company that manufactures the industry-standard product, DynaMat. It is a multi-layer sound deadening solution, that cuts easily with scissors. We just cut pieces for the front and rear of the floor pans on each side. We used no tape or other glue. It just lays in place. We cut it snug so it stays put, even though it is a heavy product and probably would stay in place anyway.
Once the sound deadening was in place, we installed the seat rails. I have seen 914 owners powder coat the seat rails. But, don’t do it. Just paint them. Powder-coating is thick, and the seats often won’t slide on the rails properly if they are powder-coated.
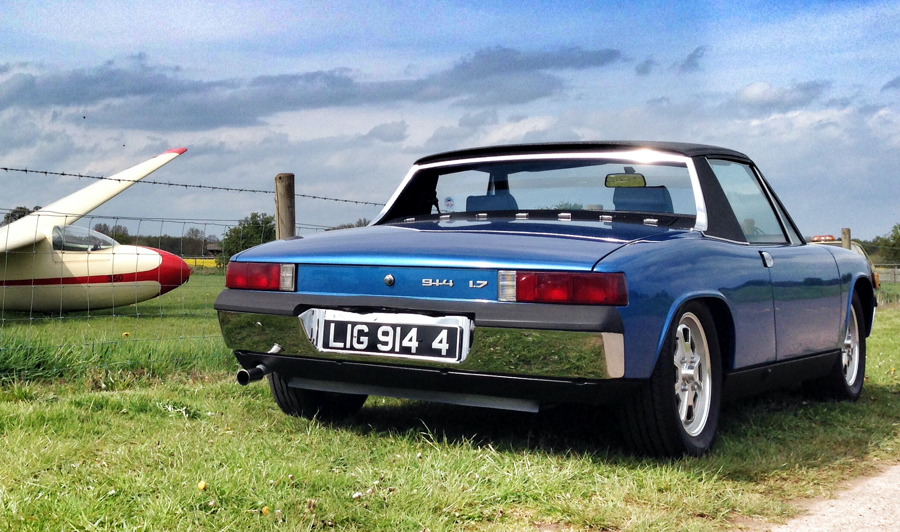
Finally, we put the bumpers on. We forgot the dog bones, and had to take them back off. Once fitted correctly, the back bumper looks great. The front bumper, however, needs a new top rubber. Once we locate one we will pull the front bumper off and install the rubber. For now, though, it will have to do as it is.
The next project is to finish the interior. We had the metal gauge surround powder coated in red to match the other accents on the car. This should really tie things together.
One part of the project that we are not excited about is putting the door windows back in. To fully paint all of the edges of the doors properly, we removed the windows, including the triangular wing windows. That was two years ago. While we have all of the parts, remembering how they go back together is another matter.
Fortunately we have a junk early-style door that is complete. We plan to disassemble that door as we assemble ours to see how they went together. Hopefully, we will be able to figure it out. We will have a how-to-article on door assembly in an upcoming issue.
After the doors, it will be time to install all of the other rubber, then the windshield and rear window. We made a lot of progress, but, we still have a long way to go. Stay tuned.

About The Author: Steve
More posts by Steve