Part I: Side Bolsters and Back. Part II is located here.
Republished with permission from the July 2015 issue of Fourteener Motoring Magazine.
Original Porsche 914 seats are one of the aspects of our cars that we use the most. Yet, they are often one of the most neglected parts of the 914. The sides take much of the abuse, every time you get in and out. Since there is no texture to the materials, they also show the damage clearly. One of the most commonly damaged pieces of the seat is the side bolsters. To get to the Bolster you need to disassemble much of the seat. But if you are careful you will be able to reassemble it without damaging the center upper section.
Time Required: 3 hours per set – side and back pieces. Plus 1 each for the back and base.
Needed Tools:
• 10mm socket with ratchet
• Medium standard screwdriver
• #1 phillips screwdriver
• 5mm Allen socket or socket key
• Small sharp knife (or Exacto)
• Automotive contact cement – Camie 313 is my preference
Optional:
• New seat adjuster handle
• Chair to set the seat in while working
914rubber (914rubber.com) produces a wide-range of Porsche 914 parts, designed to help restore and maintain your car.
How hard of a project is this? On a scale of 1-10 this is a solid 7. It’s not that it takes any incredible skill, but it requires patience and attention to detail. Particularly when restretching the side bolsters to get them to look right.
To begin, remove the seat from the vehicle utilizing the 10mm socket. This is most easily done by sliding the seat forward and taking out the 4 10mm bolts from the back of the seat rail. The height adjustment mechanism can sometimes bind up a little, so you may find it helpful to pull the lever arm on the side back to disengage the front section of the seat if it will not come right out.
Once the seat is removed you will need to take the base off.
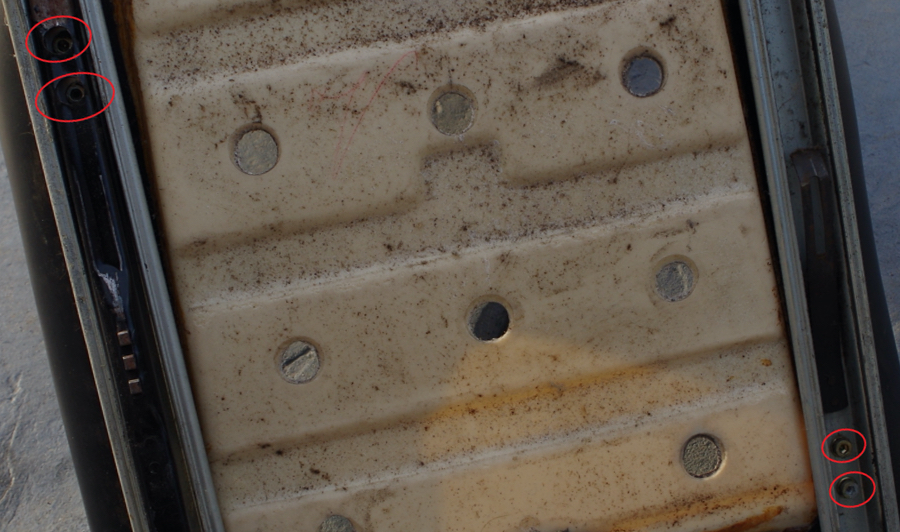
Remove the 4 allen bolts with washers and set them aside. The seat adjuster handle need not be removed unless you are replacing it. There is a short how-to about this on 914world:
http://www.914world.com/bbs2/index.php?showtopic=256159&hl=seat+adjuster+handle
If yours is missing, now is the time to replace it.
Once the rails are removed, you need to start to remove the old material. The center section will need to be removed to get access to the side sections. If you keep it intact it makes reassembly easier.
Start by removing the 2 screws on the back of the seat at the headrest flap.
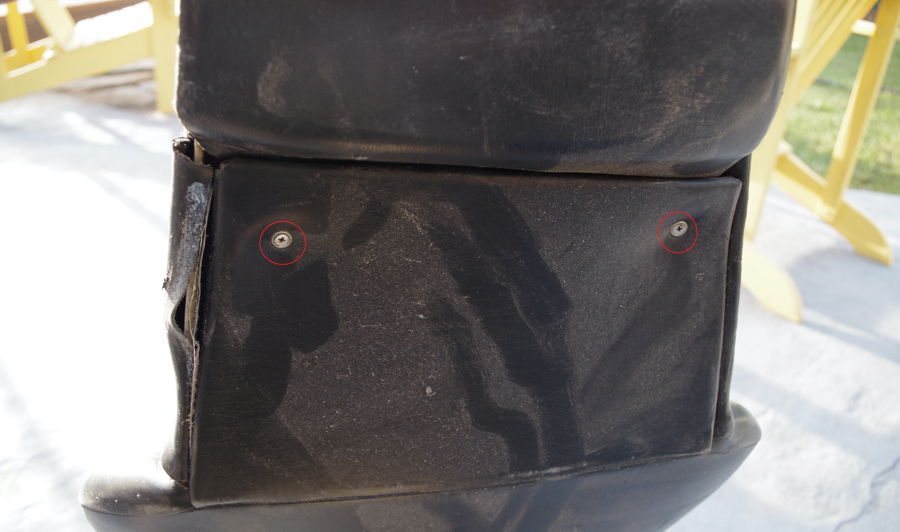
This will allow you to access 2 hidden screws that hold the base of the headrest.
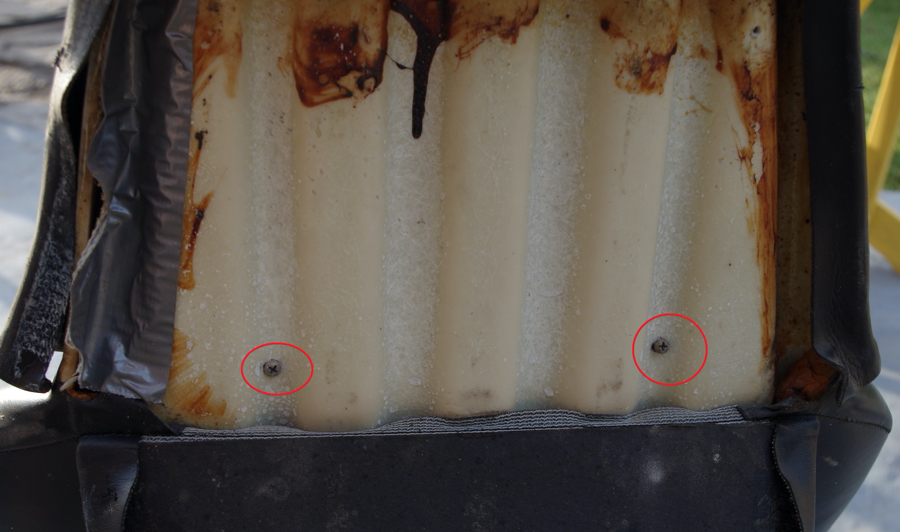
At the base of the seat there is also a wire that holds it down, you will need to dislodge the wire to allow the center section to come up, if not out.
There are two pointed prongs at the base that hold the wire on the base of the center section securely at the base. I chose to carefully bend these up using the standard flat screwdriver.
You can then pull the base down to release. This will leave you with the center section ready to remove. The headrest tilts slightly back to allow it to come off the fiberglass top that it molds around.
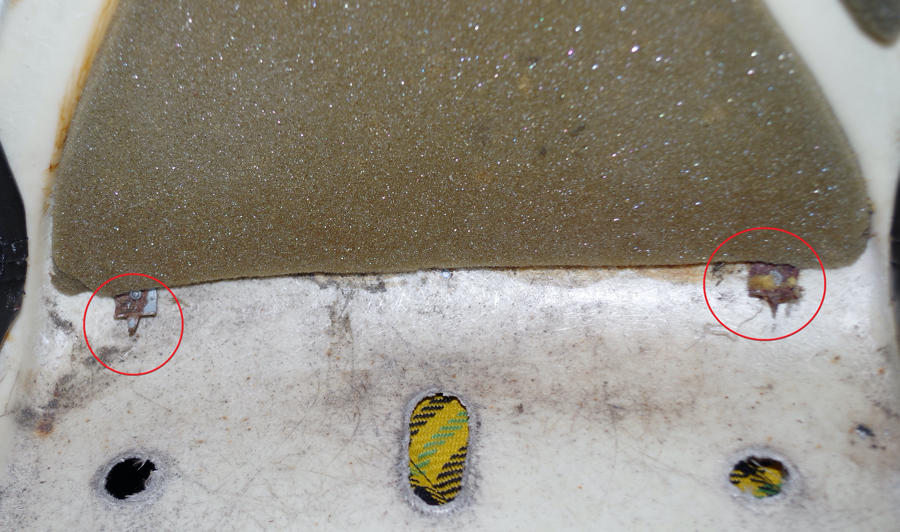
With the center removed you can now have full access to remove the side bolsters.
You will want to start with the hidden prong under the front base of the seat., then the lower base prongs, followed by the upper section.
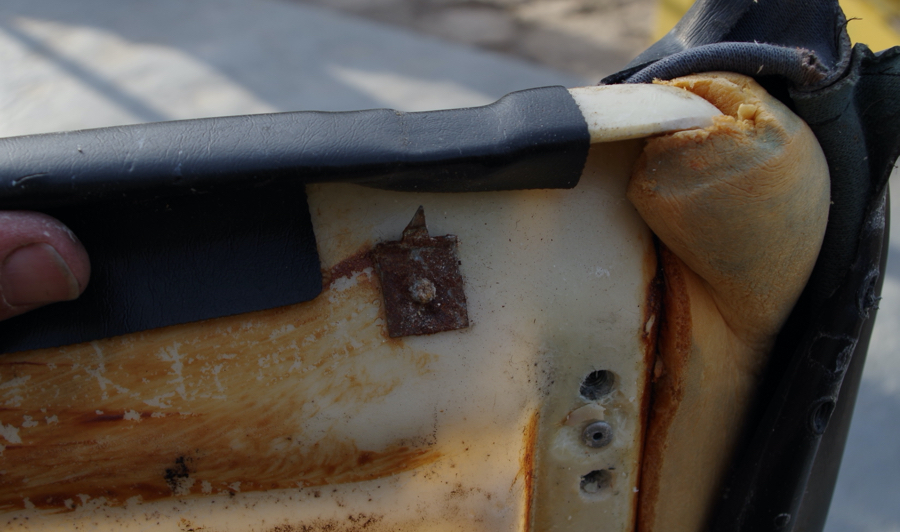
Once removed you will need to harvest the metal from the old piece.
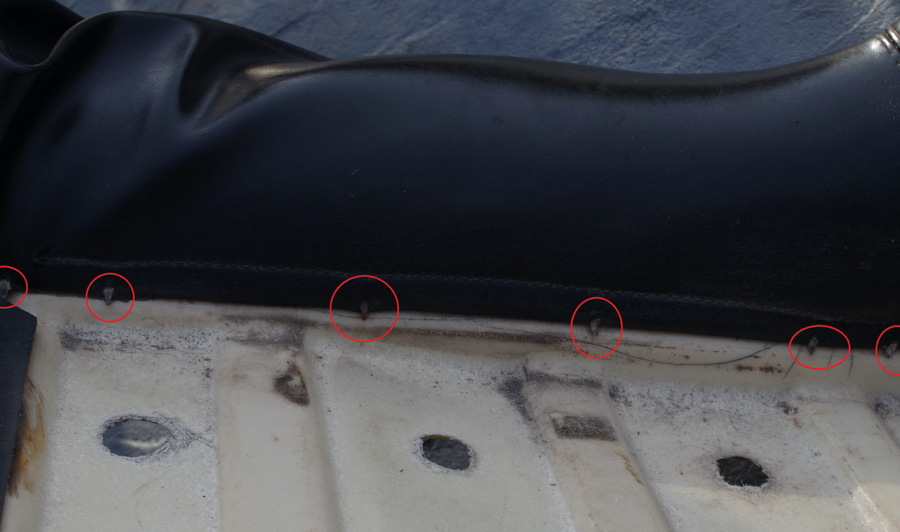
This is most easily done using a small sharp knife to cut the stitches.
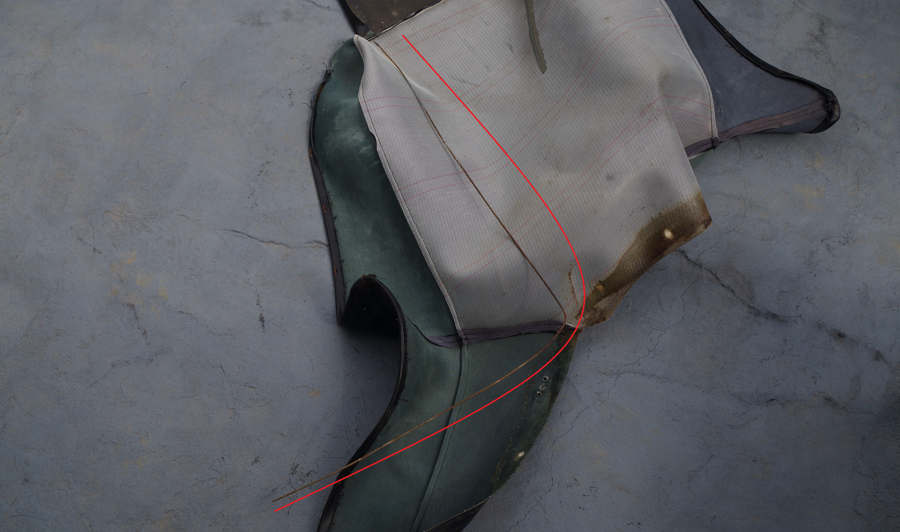
Each side has one. Once removed, you will need to thread into the new section. Make sure the loop on the metal is at the top by the headrest, so you will feed the unlooped section through from the top.
This takes a little patience, and when you get to the corner you will need to be gentle as the path is more restricted and more difficult to find. With a little probing you will be able to get it through.
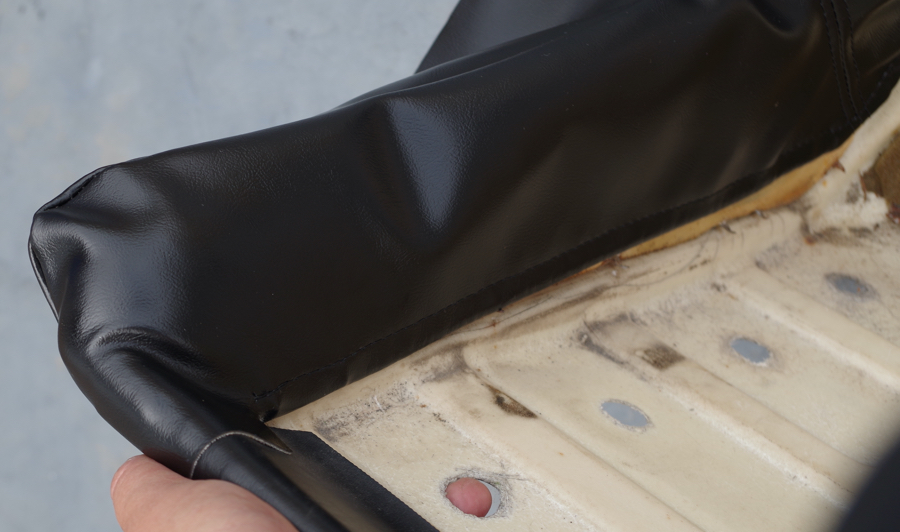
Once you have the metal in you can begin the reassembly.
I supported the seat in a folding camping chair as I found it worked well to get it to a level that I could work and was readily available.
I started at the front base and secured the first 2 prongs on each side, making sure that I had the same amount of material on each side. I then proceeded to work my way back trying to keep the material even on each side.
Continue up the side, slowly making sure that you are securing it evenly as you progress. The fold on the seam in the last picture will stretch out, but your work here makes that much easier.
When this step is finished yours should look something like below.
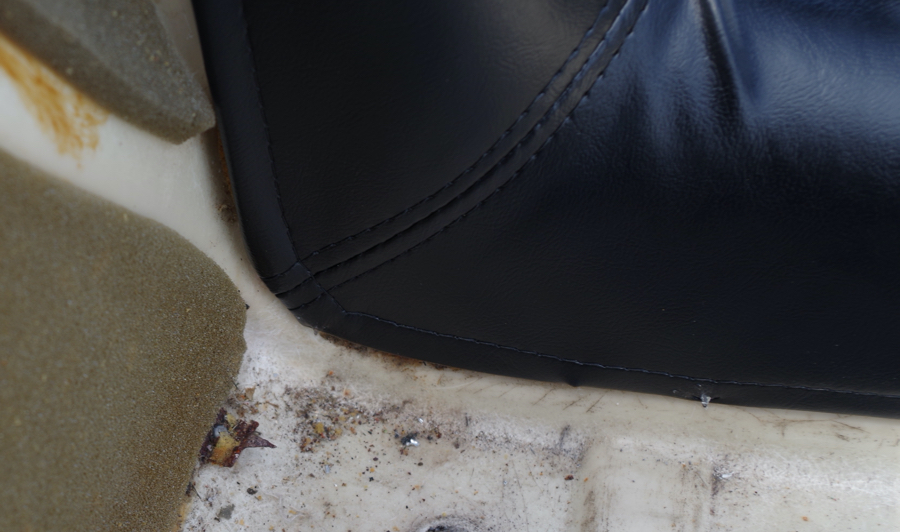
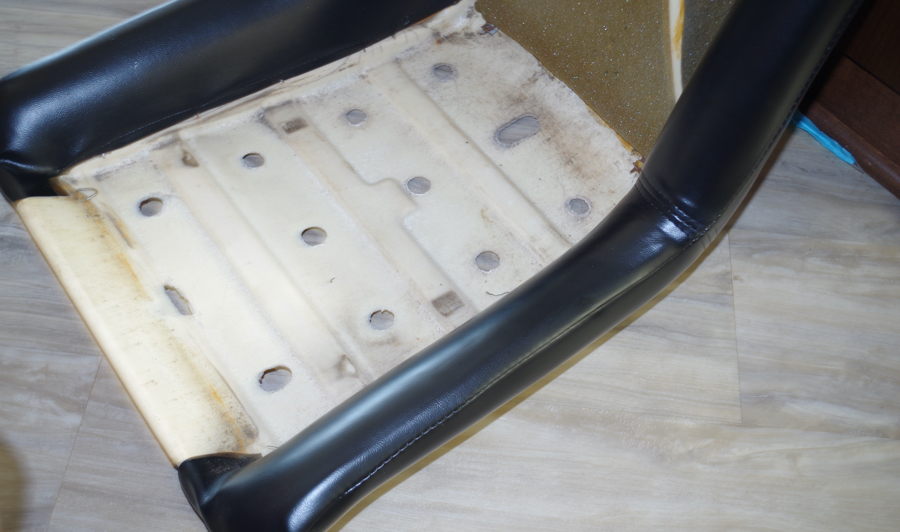
Now is the best time to secure the base back on as you will be using the contact cement to tension the vinyl. I prefer Camie 313. Once tensioned and glued, reattach the base.
Your completed product will look like this. If you are reusing your center sections now you can reinstall them.
Next Issue – Base and back recovery.





About The Author: Steve
More posts by Steve