Republished with permission from the July 2015 issue of Fourteener Motoring Magazine.
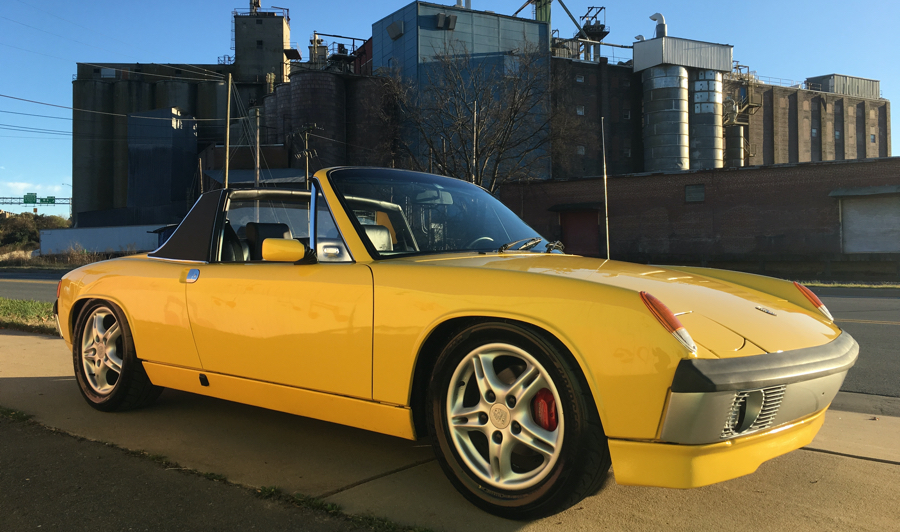
In the last chapter of our 914 project, we did the paint. Next, we prepared, treated, and painted the floor pans and front and rear trunks. Now, it is finally time to begin reassembling the teener.
Specifically, we have the following major tasks before the car is ready for the road:
• Reassembly
• Rebuild 7 Install 2.0 Liter Engine
• Paint or Powder Coat Wheels
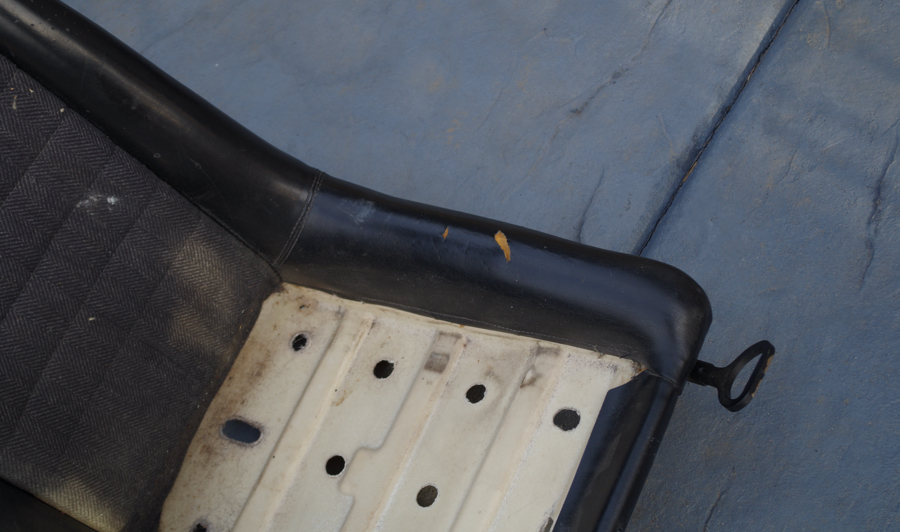
• Recover Seats
• Install Interior
Although Porsche designed the 914 to be assembled fairly easily, putting one back together can be a challenge. First, assembling a car after it has been painted is nerve-racking. Fender covers help. But, it is still difficult to keep from scratching the new paint. We found that using painters tape and paper to tape off sections that we were not working on was helpful.
Second, space in the 914 is tight. Everything has to be put back together in the correct order, or you can find yourself removing newly-installed parts because they get in the way of another piece. And taking a piece off, that you just put on, without scratching the part or paint under it can be very difficult. The best advice is to plan out the assembly well.
Third, once the car is painted, it can be difficult to accept installing used parts. We found ourselves having to struggle not to order more new parts than we really needed. Since this is a daily driver 914, we didn’t start with a budget that allows replacement of every piece. The strategy was to replace everything that needed to be replaced, as well as the rubber, and other parts that really make a nice finishing touch. To keep this project on budget, the rest of the pieces have to be cleaned, repainted, and reused. Very carefully. Here is some of the progress we have made. It is coming together. Slowly.
The first thing we did when the car came back from being painted, was install the hood badge. The hood was already drilled for one, and it made a nice first touch. It took over an hour to get it installed without scratching the new paint. The seal can be very difficult to stretch over the badge. A lot of patience helps.
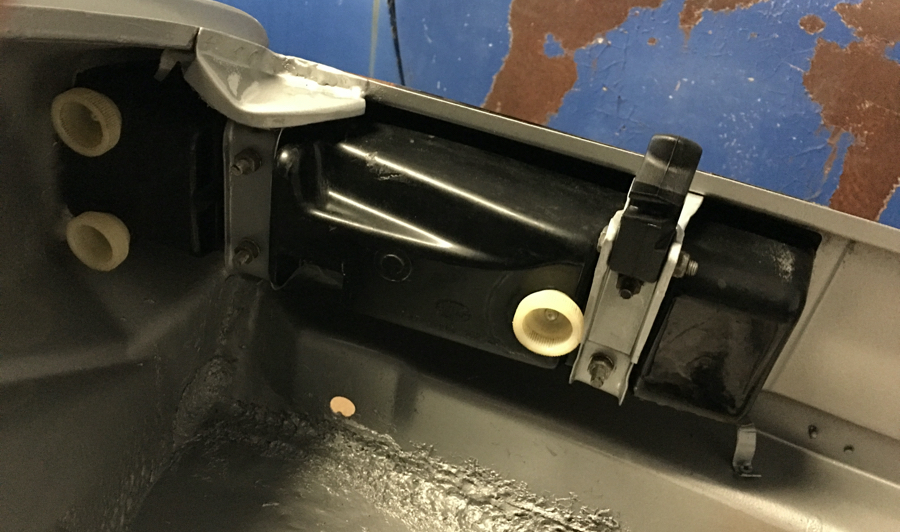
We then tackled the rear taillight housings. We cleaned them very carefully with soap and water (not soaking them), and installed them using 914rubber seals. We also installed new roof hold-downs in the trunk, again from 914rubber.
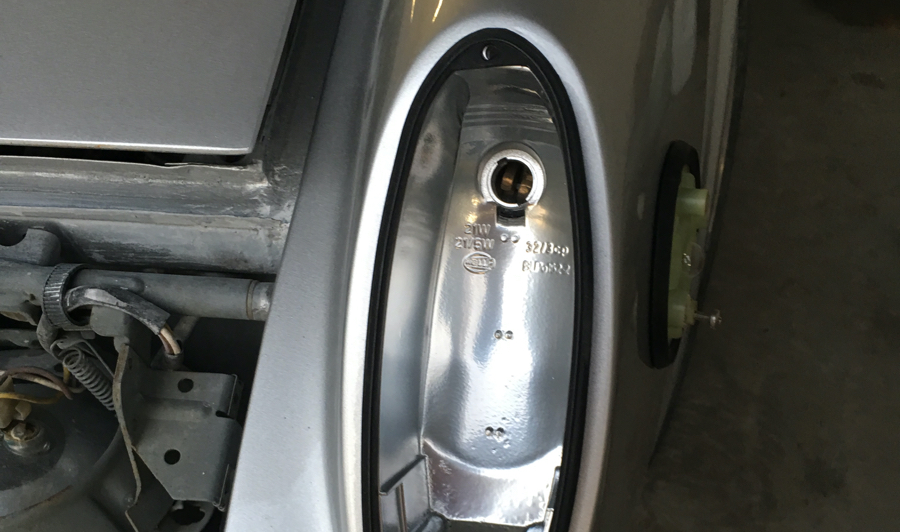
We cleaned the front turn signal housings (again with soap and water, without soaking them), and painted the inside of the housings with Dupli-Color chrome paint. We happen to have a set of NOS turn signal housings for another project, and when we compared the finishes, we were very pleased with how these turned out. The housings were installed, as were the side marker lights, with new gaskets.
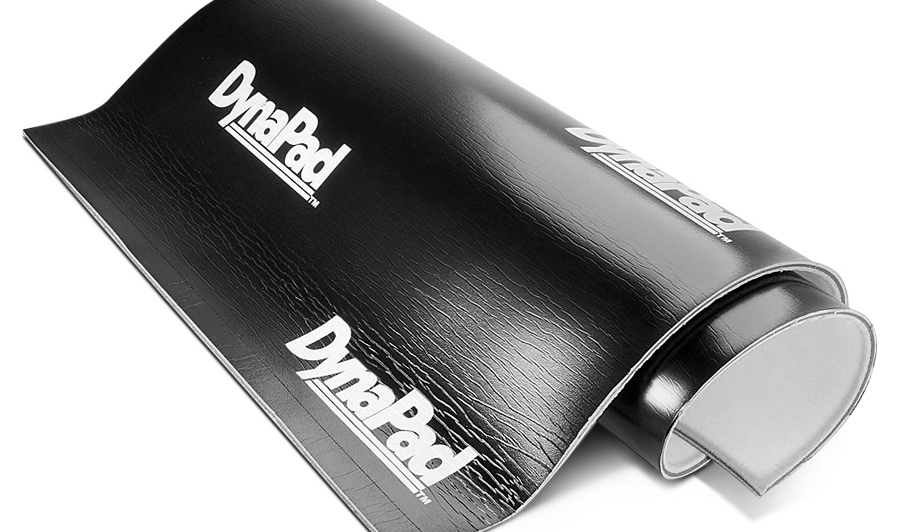
Sound deadening the floors has been a real dilemma. We didn’t want anything that was glued to the floor pans. As a daily driver 914, it is inevitable that it will get caught in the rain. Getting it dried out will be difficult if the material can’t be removed. We are going to try DynaPad, which has great sound deadening properties, but does not have adhesive on the back. We will let you know how it works.
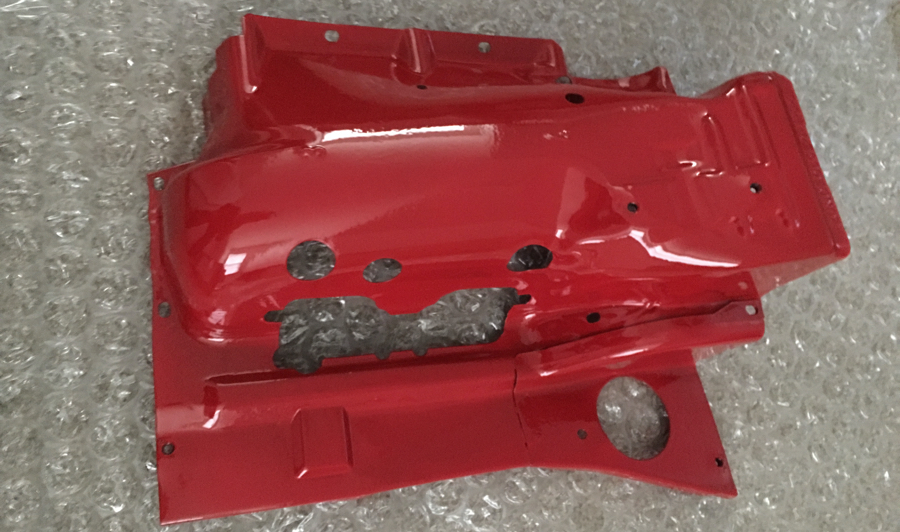
In preparation of installing the rebuilt 2.0 liter engine, we cleaned up the engine sheet metal. We spent a fair amount of time hammering the metal back into shape, before having it powder coated (the coating won’t cover up any defects). Contnuing with the silver & red theme, we went with red for the main four pieces of sheet metal. All of the other pieces were coated in gloss black.
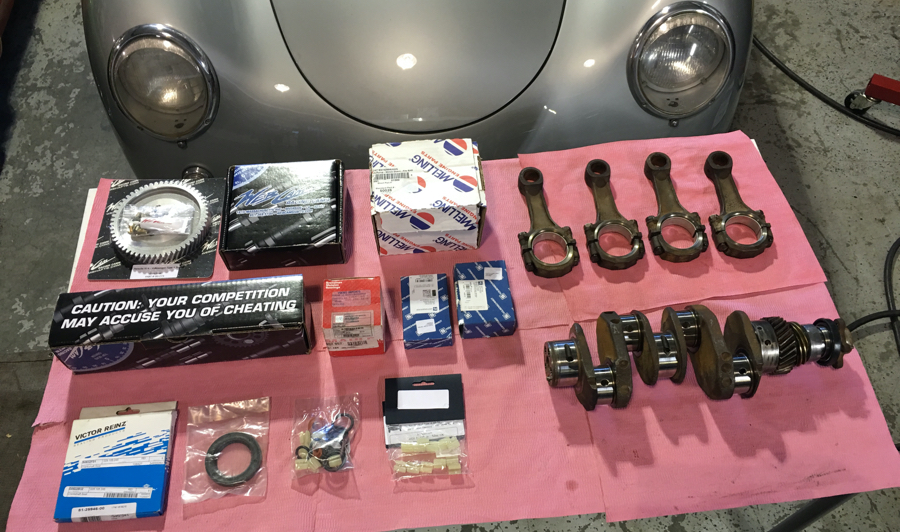
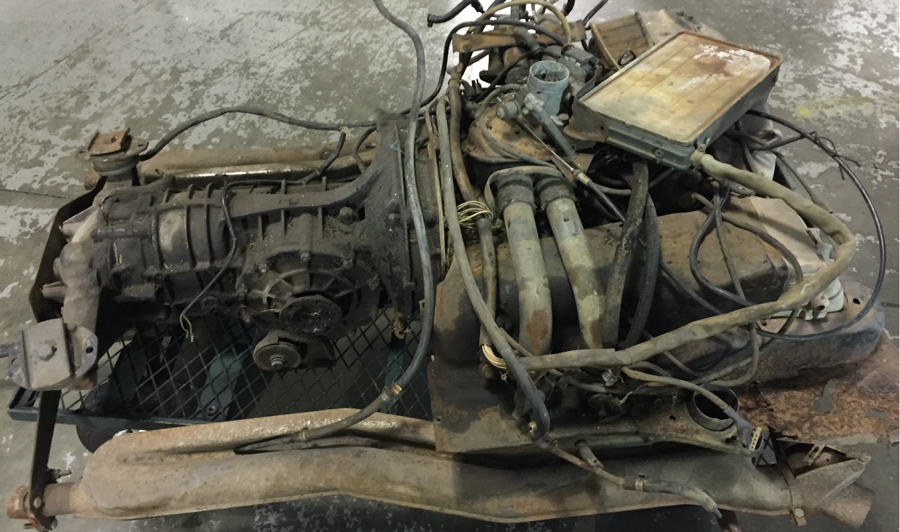
The car came with a recently rebuilt 1911cc engine, but had a cam for carbs. Since we want fuel injection, we sold the engine on 914world, and found a 1976 2.0 liter engine to rebuild. We have rebuilt the engine’s short block, with the help of John Forbes at Black Forest Racing. To see that process, the engine rebuild is the subject of the How-To article in this issue here. We will rebuild the top end of the engine next.
About The Author: Steve
More posts by Steve