By Mark Whitesell, 914 Rubber, republished with permission from the April 2015 issue of Fourteener Motoring Magazine.
If you own a 914 you probably have some issues with your door panels. From a previous owner cutting speaker holes in them, to the bottom of the door panels coming apart from getting wet, the door panels are one aspect of your car that often needs attention. This article explains how to replace the “card” in the door panel. Although this procedure is shown using new fiberglass panels, the process is the same with fiberboard panels. The only difference is that you will need to remove the vinyl first, and make sure the substructure is sound.
Needed Tools:
• Scissors
• Pop rivet tool with about 30 -1/8” x1/2” pop rivets
• At least 30 clamps (can be obtained at Harbor Freight )
• Heat gun
Needed Materials:
• Fiberglass door panels (optional)
• Vinyl for main panel section, and upper bolster section
• Pad material for door sections
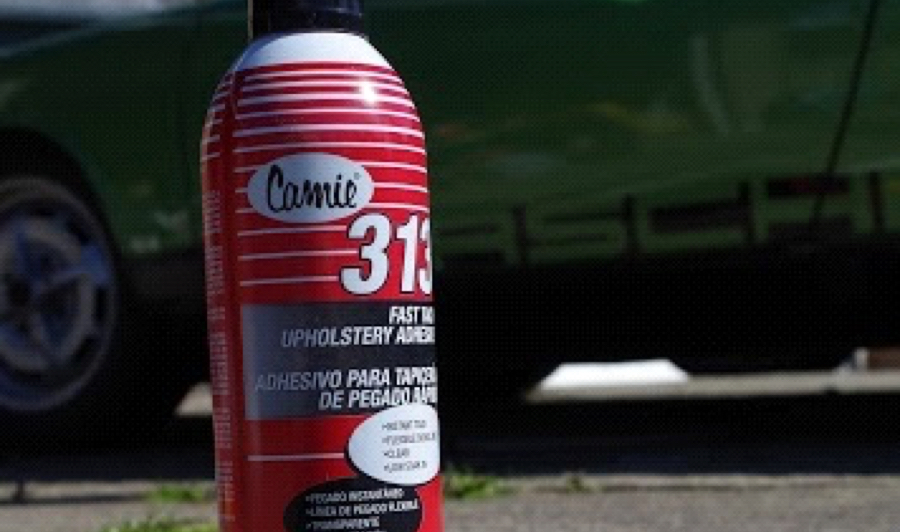
• Low-penetrating upholstery contact cement – I like the Camie 313 best now that I’ve had a chance to work with it. Others work, but this is the one I’ve had the best results with.
914rubber (914rubber.com) produces a wide range of Porsche 914 parts, designed to help restore, as well as maintain your car.
This project is a weekend project since the glue will need to set up for some time to assure that they glue down to the edges properly. The difficulty level of this project is a 5 on a scale of 1 – 10. It’s not particularly difficult. But, it requires time and patience to make it look good. The most difficult part is the fold-over and attachment of the top bolster.
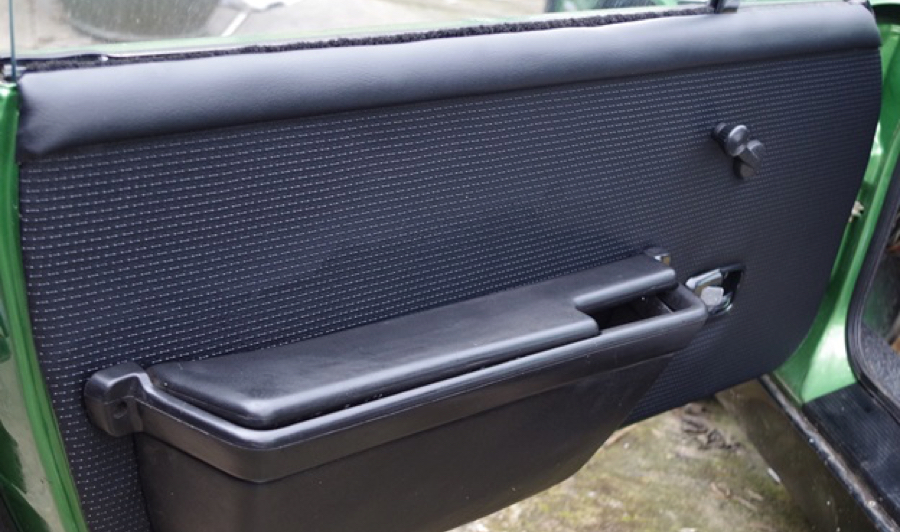
1. You will need to start with a clean slate, so strip down your old panel. You can make your own “card.” The only issue is the upper bolster. You will need to emulate the bump for the upper bolster. You can take new fiberboard and cut your own salvaging the upper sections. You will more than likely have to repair the bottoms of the door panels also. You can use epoxy and spread into the areas where it has come apart. Use wax paper and set some books on it overnight. The wax paper will not come off. But that is alright. You will need to predrill any holes that are filled with epoxy. You will need to pay close attention to the 3 mounting clips on the inside of the door panel at the top. Or you can start with new fiberglass ones relatively inexpensively. The fiberglass panels come with these pre-attached. I chose the latter.
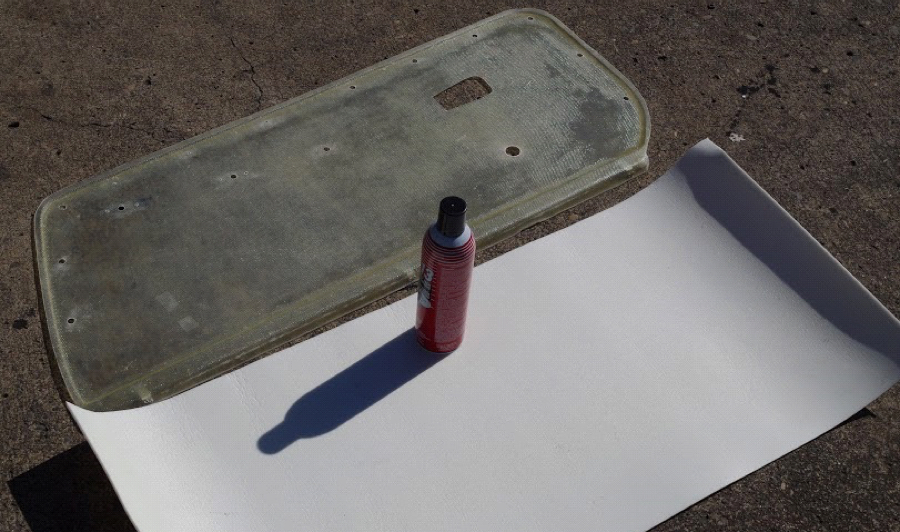
2. You will need to coat one side of the panel, and one side of the pad material and allow the contact cement to flash. It usually takes about a minute. You will not want to get enough on the upper bolster, since the pad is attached after the base is pop riveted to the panel. More on that later.
3. You can take a sharp knife and trim the inside edges to make the vinyl glue down flush to the fiberglass. It doesn’t have to be perfect. But, you do need to relieve the edges so that the indentation will not show through the completed part.
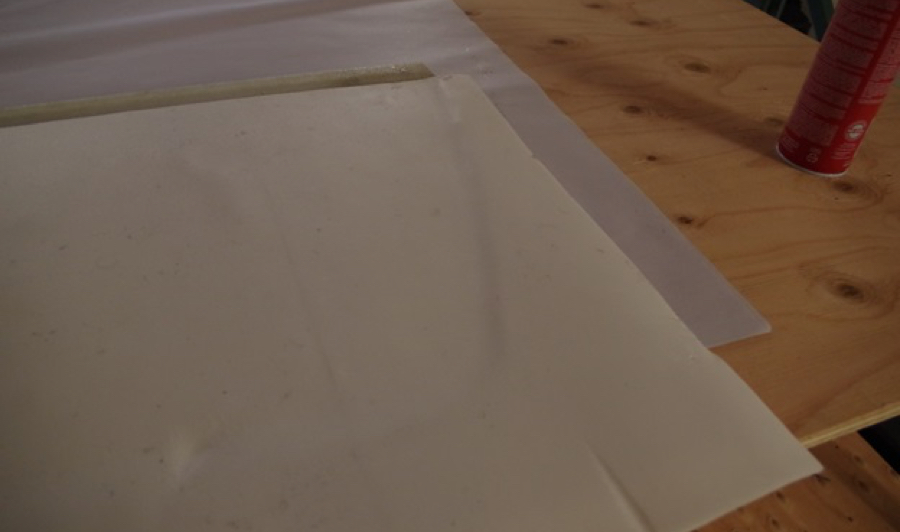
4. The vinyl needs to be applied with attention to the edge of the pattern running on the horizontal edges. You can trim it to fit before you install using the panel as a guide.
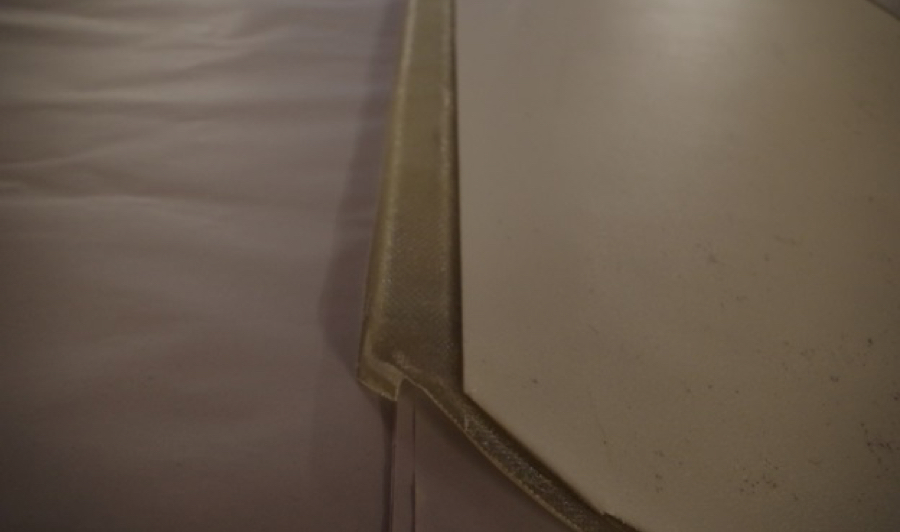
5. This is where the upper bolster comes into play. The trick is to lay the vinyl for it down and then apply the pad material. You can then use a metal strip to attach these (this is included with the fiberglass panels). The top bolster and foam will need to fold over the metal strip to make it less conspicuous.
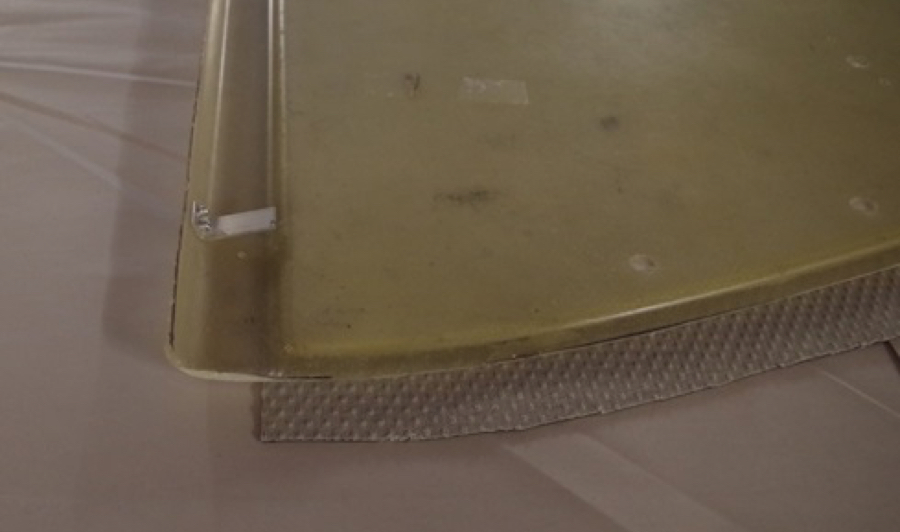
6. You will need to use a pop rivet tool to attach the metal strip holding the material between the panel and the strip. To do this start at the front and drill with a 1/8” drill bit to allow for attachment.
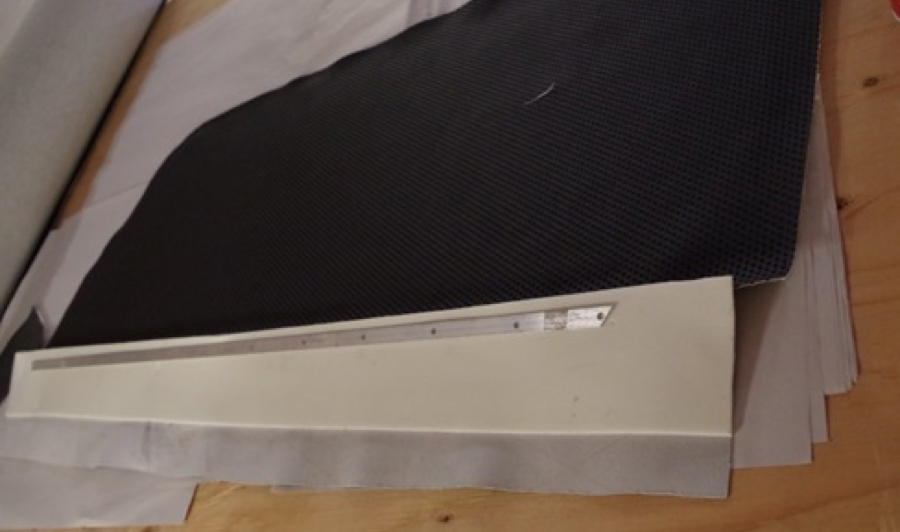
7. The hole should be through the inner edge. This will keep the pop rivet from interfering with the door. After you get the front done, work your way down making sure you don’t wander and keeping everything straight.
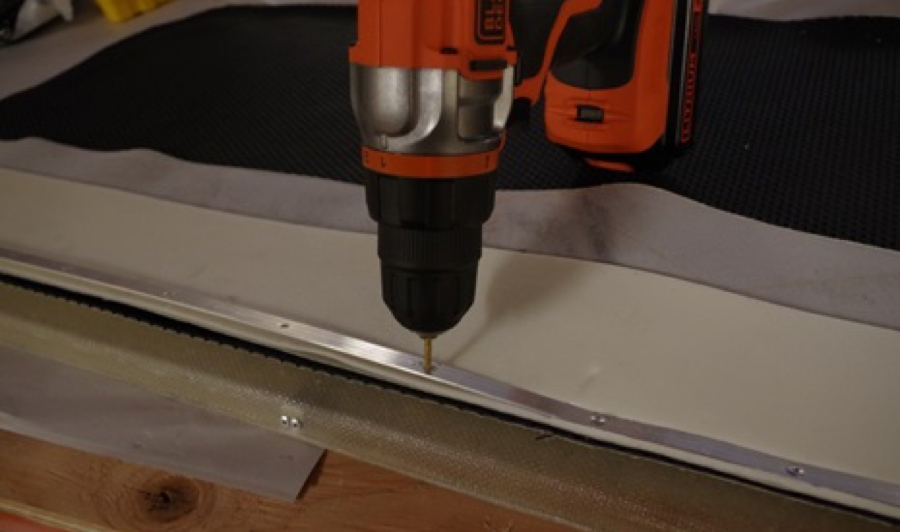
8. Once you are at this stage the edges will need to be glued. Trim the excess material so that about 1/2” will fold over the edges. Apply the glue to the fiberglass and stretch the foam and vinyl over.
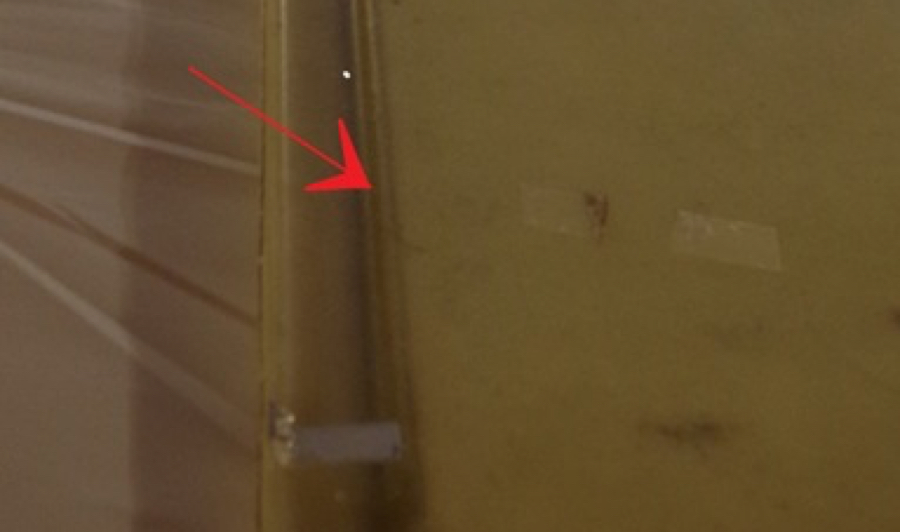
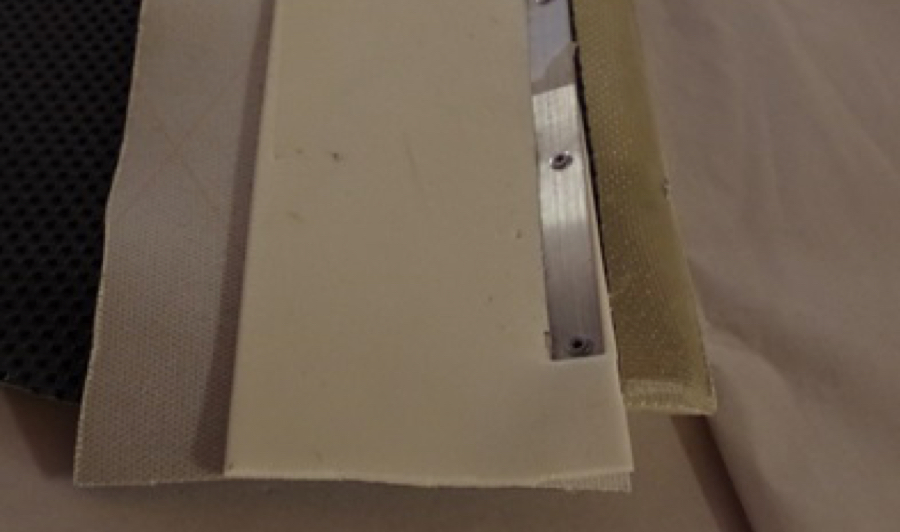
9. Apply glue to the vinyl and back of panel. Stretch slightly, and use clamps to hold the vinyl in place. You will want the panel to sit overnight to assure a good bond. The top front of the door panel will have to be glued in stages as there is a compound fold. You will need to let it set for at least 3 – 4 hours also.
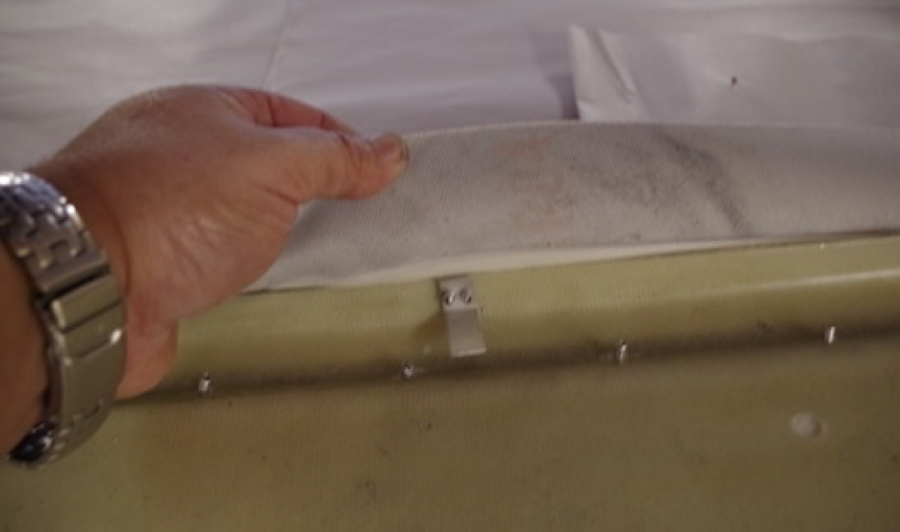
10. Trim the edges so that the vinyl will not interfere with the attachment at the top of the door. Note where the pop rivets are located.
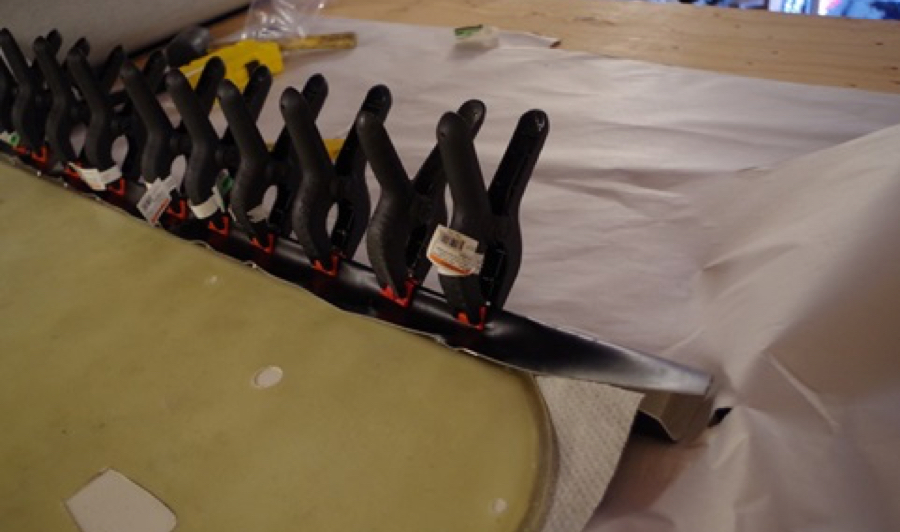
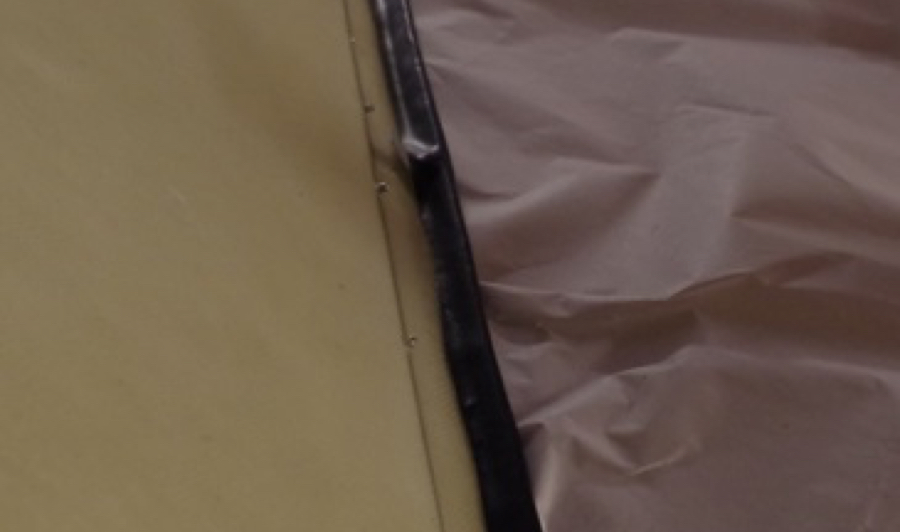
11. Once you have the panels assembled, you will notice that the clamps will have left some marks. These can be removed using a heat gun to allow it to relax. You can also use paint sticks to apply more even pressure if you have some handy.
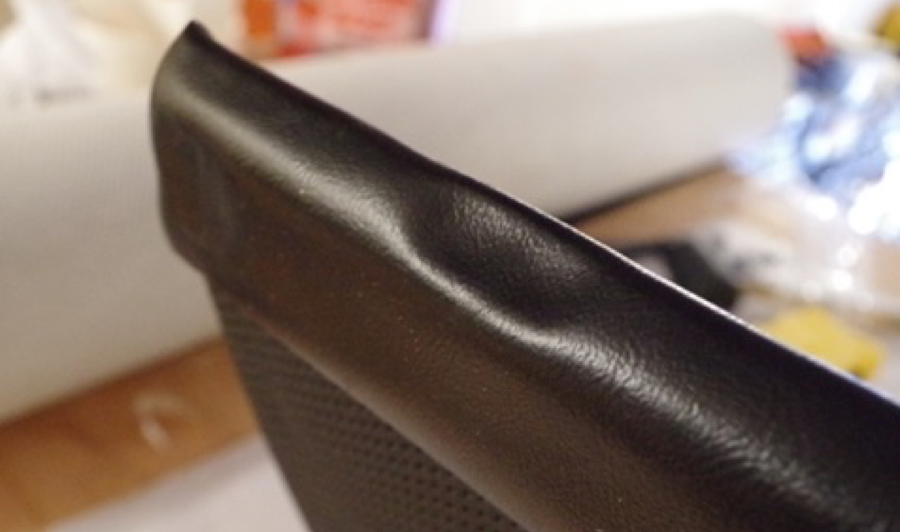
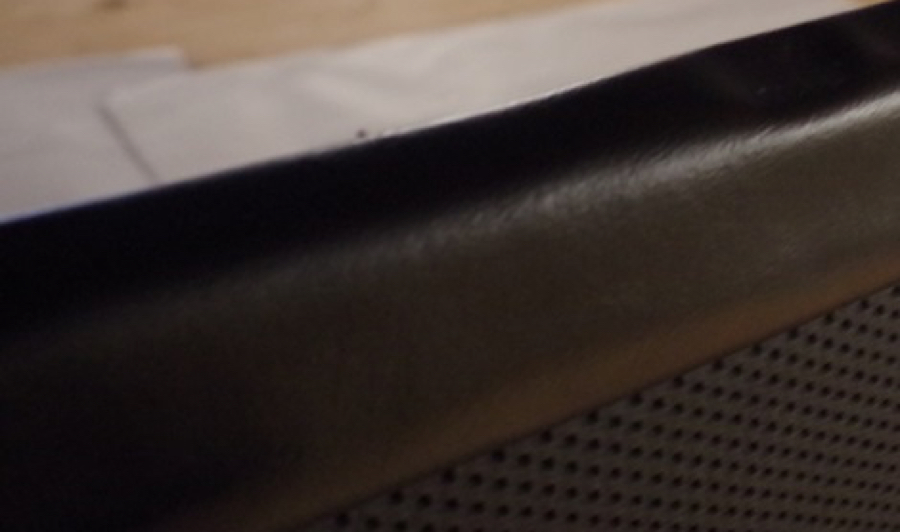
12. The installation is simply the reverse of the removal. You can purchase the door panels complete with the fiberglass backs, but there is some personal satisfaction in doing this yourself. And you can save a few bucks too. For fiberglass door panels, as well as a wide selection of 914 parts, visit 914rubber.com.




About The Author: Steve
More posts by Steve